
10 Expert Secrets for Flawless AI Object Removal and Seamless Inpainting
एआई ऑब्जेक्ट रिमूवल से परफेक्ट और क्लीन रिजल्ट पाने के 10 सीक्रेट टिप्स
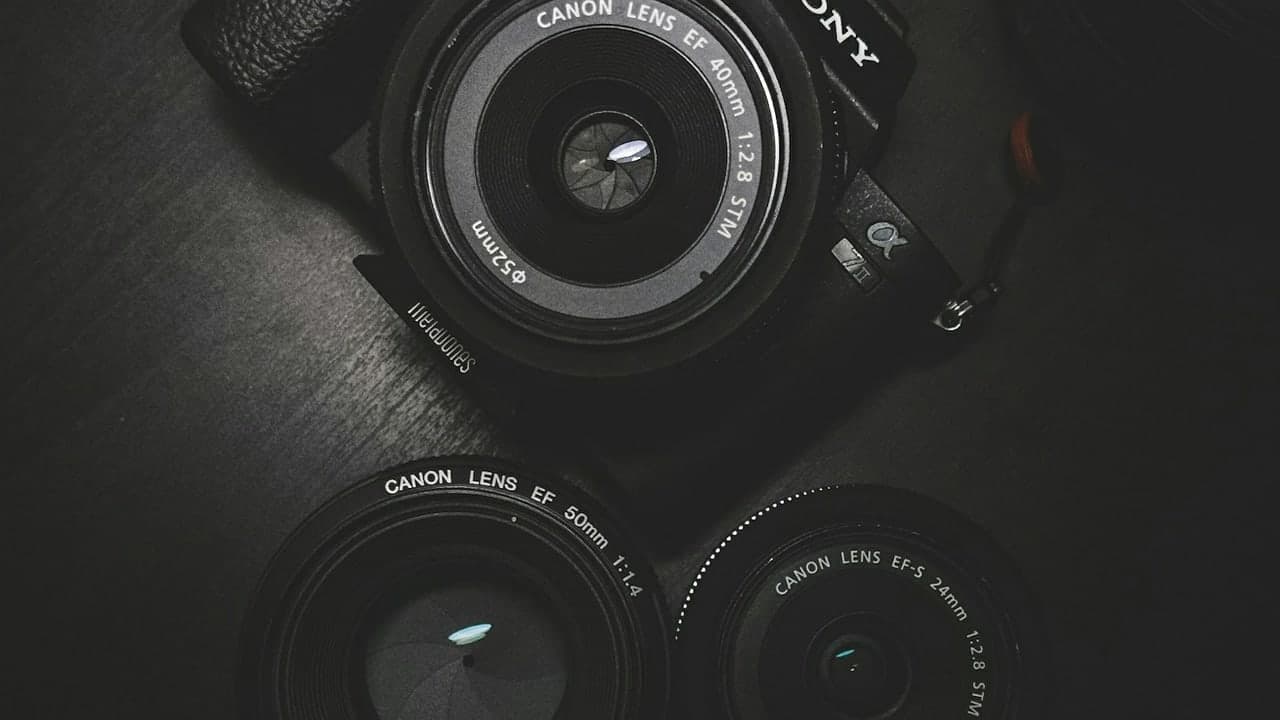
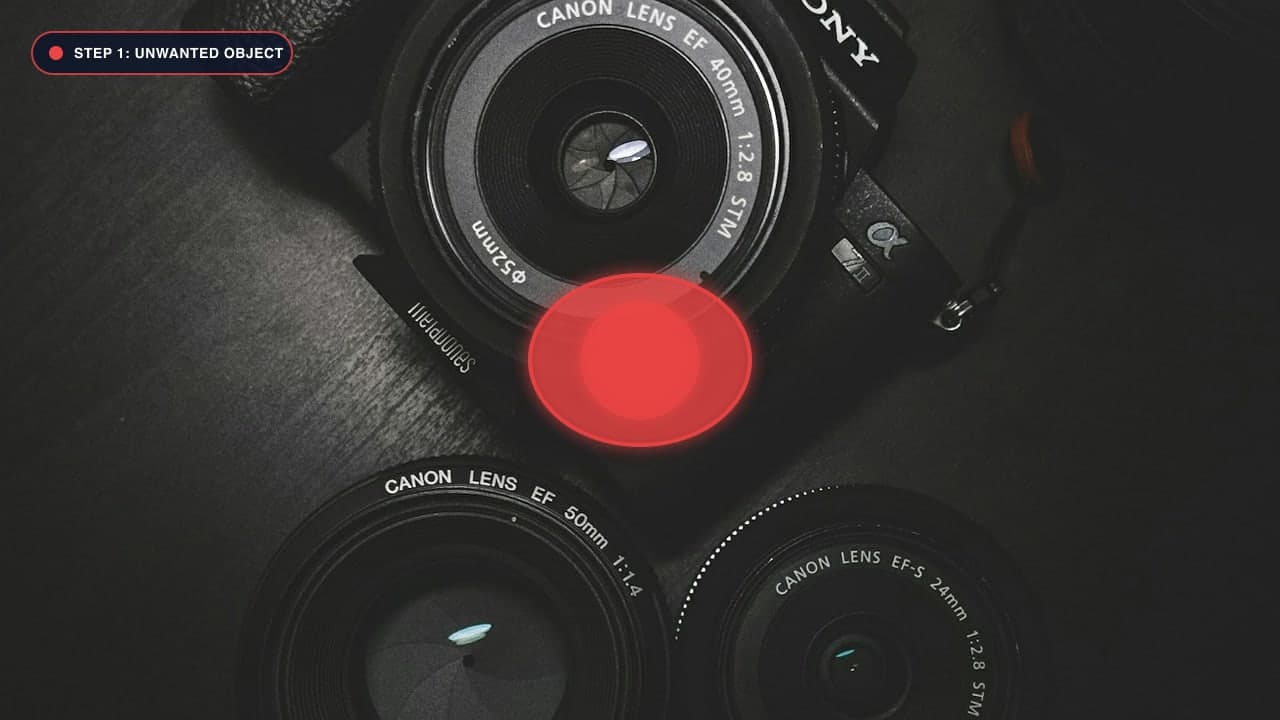
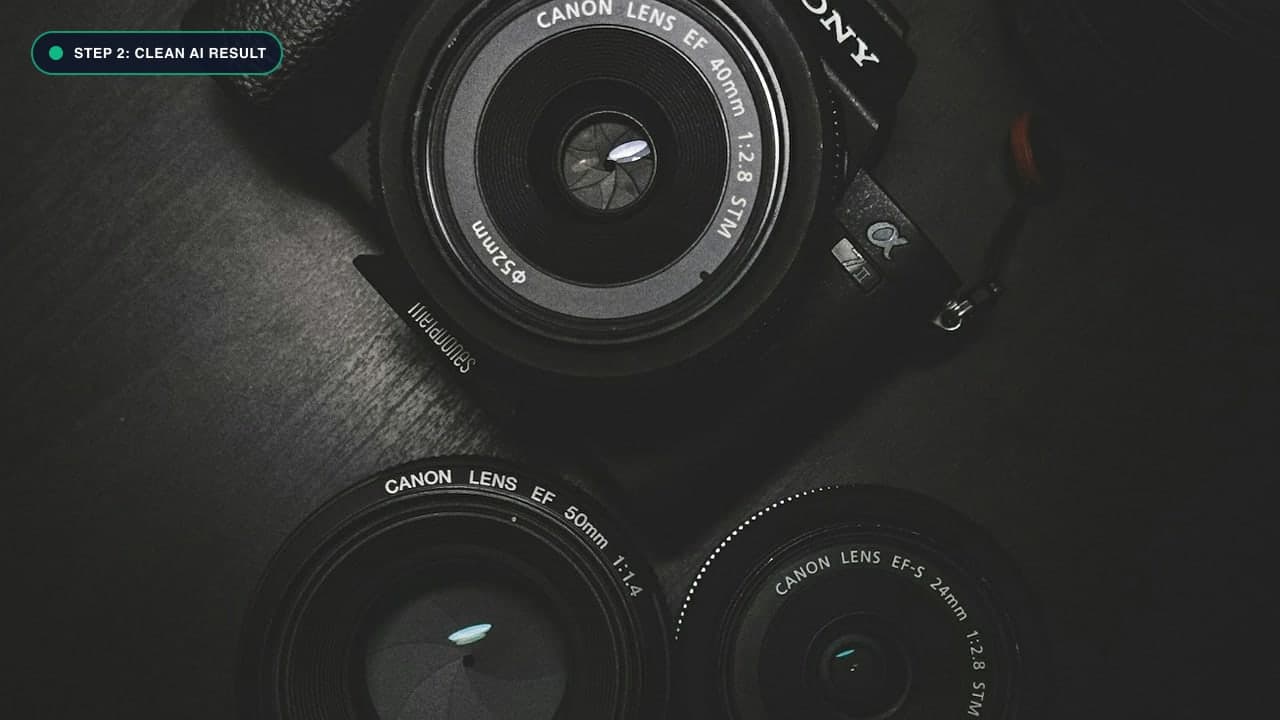
Moving From Novice Erasing to Studio-Grade Retouching
Modern AI object removers are astonishingly powerful, but like any creative instrument, the quality of the final output depends heavily on the technique of the user. Two people using the exact same tool on the exact same photo can achieve drastically different results: one leaves behind blurry smudges, tell-tale color halos, and floating shadows, while the other creates a museum-grade photograph where no human or computer algorithm can detect an edit.
After processing millions of photographs through our neural inpainting engine, our engineering and retouching teams compiled these 10 essential secrets to ensure your edits look flawless every single time.
The 10 Commandments of Professional AI Inpainting
Secret 1: Respect the 5-Pixel Outer Boundary Rule
Never paint right up to the exact pixel edge of an object. Digital cameras apply anti-aliasing and color demosaicing, which creates a narrow 2-to-4 pixel fringe of mixed colors along the object's silhouette. If you mask only the object interior, that color fringe stays behind as a ghostly halo. Always extend your red mask 4 to 6 pixels beyond the object's visible perimeter.
Secret 2: Hunt Down Ambient Occlusion & Cast Shadows
If an object rests on a surface, it casts an optical shadow. Floating shadows are the #1 giveaway of fake or poorly edited images. Trace the ambient occlusion shadow (the dark contact shadow under feet, tires, or furniture) and erase it in the same pass.
Secret 3: Catch Water, Glass & Polished Marble Reflections
If your photo features a wet street, swimming pool, bathroom mirror, or polished tile floor, remember that light reflects symmetrically. Erasing someone from the edge of a pool while leaving their inverted reflection floating in the water destroys realism. Always mask the reflection!
Secret 4: Divide and Conquer with Multi-Pass Masking
When removing multiple large objects (e.g., three people and a bicycle), resist the urge to cover everything in one giant red blob. Covering too much area deprives the neural network of clean contextual reference pixels. Erase one item, allow the AI to synthesize that region, and then erase the next item.
Secret 5: Calibrate Brush Diameter Dynamically
Do not use one fixed brush size for an entire image:
- Use a broad 50px brush for solid interiors (torso, car doors).
- Scale down to a 12px brush for fine extremities (hands, antennas, wires).
Secret 6: Zoom in to 200% on Mobile and Desktop
Never mask fine details while viewing an entire 4K photo zoomed out to fit a tiny smartphone screen. Pinch to zoom in so you can clearly distinguish foreground edges from background details.
Secret 7: Preserve Horizon and Structural Perspective Lines
If an object interrupts a continuous horizontal line (like a sea horizon, beach shoreline, or building cornice), ensure your mask extends slightly into the clean sections of the line on both sides. This enables the model's Fourier transforms to mathematically connect the endpoints.
Secret 8: Avoid Over-Masking Clean Areas
While masking the object's perimeter is vital (Secret #1), excessively sloppy masking that covers large swathes of pristine background forces the model to guess unnecessarily. Keep your mask purposeful and compact.
Secret 9: Fix Minor Imperfections With a Secondary 10px Stroke
If a complex background leaves a tiny 5-pixel seam or texture repetition, do not throw away the edit! Simply apply a tiny, light brush stroke directly over the seam and click Remove again. Secondary passes usually resolve minor edge discrepancies instantly.
Secret 10: Always Download at Native Original Resolution
Many free mobile apps reduce your 24MP camera snapshot to a blurry 720p image upon export. ObjectRemover.in preserves your image's original full resolution, color depth, and sharpness.
Summary Matrix: The 10 Secrets at a Glance
| # | Technique | Common Mistake Avoided | Impact on Realism | | :--- | :--- | :--- | :--- | | 1 | 5-Pixel Margin | Colored edge halos | Extremely High | | 2 | Erase Cast Shadows | Unnatural floating elements | Essential | | 3 | Erase Reflections | Water/glass reflection ghosts | Essential | | 4 | Multi-Pass Masking | Hallucinated blurry patches | High | | 5 | Dynamic Brush Sizing | Accidental over-masking | Medium | | 6 | 200% Zooming | Sloppy boundary painting | High | | 7 | Horizon Line Anchoring | Misaligned perspective lines | Extremely High | | 8 | Compact Masking | Loss of authentic detail | Medium | | 9 | Secondary Fine Pass | Lingering seam boundaries | High | | 10 | Lossless HD Export | Image pixelation & blur | Essential |
परफेक्ट रिजल्ट पाने के 10 सीक्रेट टिप्स - हिंदी गाइड (Bilingual Hindi Section)
प्रोफेशनल फोटो एडिटिंग के 10 नियम:
- ऑब्जेक्ट से थोड़ा बाहर ब्रश चलाएं: हमेशा ऑब्जेक्ट की सीमा से 5 पिक्सल बाहर तक ब्रश लगाएं ताकि कोई रंगीन किनारा न छूटे।
- परछाई को कभी न भूलें: जमीन पर पड़ी परछाई को जरूर मिटाएं, वरना फोटो नकली लगेगी।
- पानी और शीशे में रिफ्लेक्शन मिटाएं: यदि नीचे पानी या फर्श पर परछाई दिख रही है, तो उसे भी मार्क करें।
- एक-एक करके हटाएं: बहुत सारे लोगों या चीजों को एक साथ हटाने के बजाय, बारी-बारी से हटाएं।
- ब्रश का आकार बदलते रहें: बारीक चीजों के लिए छोटा और बड़े सामान के लिए बड़ा ब्रश इस्तेमाल करें।
- ज़ूम करके काम करें: स्क्रीन को ज़ूम करें ताकि आप सफाई से ब्रश चला सकें।
- सीधी लाइनों का ध्यान रखें: दीवार या सड़क की लाइनों के दोनों किनारों को थोड़ा-सा कवर करें।
- अनावश्यक बैकग्राउंड न ढकें: सिर्फ जरूरत की जगह पर ही ब्रश लगाएं।
- हल्का दूसरा टच-अप: यदि कोई हल्की रेखा रह जाए, तो उस पर एक बार और हल्का ब्रश चलाएं।
- हमेशा ओरिजिनल HD में डाउनलोड करें: अपनी फोटो को पूरी क्वालिटी में सेव करें।
Frequently Asked Questions (FAQ)
What is the single most common mistake in object removal?
Forgetting to remove the ground shadow. Always trace the shadow alongside the object!
Can I practice these techniques on the website for free?
Yes! Jump right into our Magic Eraser Studio and start transforming your photos now.
Are there specialized tools for specific object types?
Yes, check out Remove People, Remove Text, and Photo Cleanup.
Try It On Your Own Photo Right Now
अपनी फोटो से किसी भी अनचाहे ऑब्जेक्ट को हटाने के लिए नीचे दिया गया टूल आज़माएं:
Drop your photo here or browse
Supports JPG • PNG • WEBP • HEIC (Max 25MB, Native 4K)